How to create a stamp?

Franck Carpentier
Last Update 5 years ago
To create a stamp, you must log in to the application.
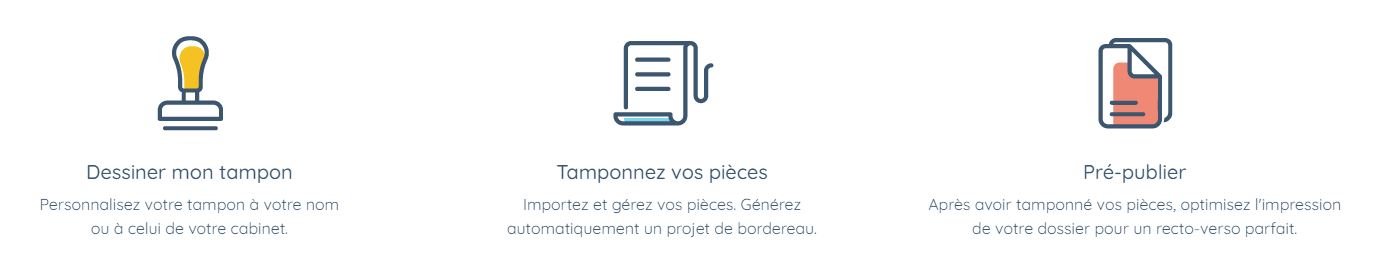
From the home page of the application, click on the "Dessiner mon tampon" icon located on the left side of your screen.
You will then access the stamp creation tool.
In the first tab, "Forme du tampon", you can choose :
- the shape of the stamp (circular, square or rectangular),
- the thickness and the shape (dotted or continuous) of the stamp lines,
- the colour of the stamp.
In a second tab "Texte du tampon", the tool allows you to :
- enter the text on the top and bottom lines of the stamp (your name and your bar association for example),
- choose the colour of the stamp text.
It is not necessary to indicate any mention such as "exhibit n°" when creating your stamp: e-signum does it automatically when stamping the exhibits.
You can make any adjustments you wish, if necessary, by returning to the first tab "Forme du tampon". The creation of the stamp is only confirmed when you click on the button "Valider la création de mon tampon".
Once your stamp has been created, you can :
- affix the stamp to your documents via the exhibits stamping tool (within the limit of two case files if you only have a trial version or without limit if you have a premium subscription),
- download the stamp for use outside the e-signum application (with the "e-signum" watermark if you only have a trial version or without this watermark if you have a premium subscription or subscribe to the "1 stamp" pay-as-you-use offer).